Shop 100% Pasture-Raised, Grass Fed & Finished Beef Chuck Roast

Cooking Variations
- Substitute different meat: This recipe is a great base and works well with a variety of meat. Use Beef Cross Rib Roast, Rump Roast or Pork Butt (bone-in or bone out). Basically any kind of meat that requires low and slow cooking. We just loved the way beef pairs with sweet and tangy apple cider.
- Apple cider: Look for apple cider that’s fresh pressed and unfiltered. It should be bright and fresh with no added sugar. Look in the refrigerated section at the grocery store or ask your farmers market vendor.
How to cook in the slow cooker?
You can also make this in a slow cooker. Make sure to brown the meat in a cast iron skillet and build flavor with the aromatics. Turn the slow cooker on low for about 6-8 hours. Cover with the lid and cook until tender.
Apple Cider Braised Chuck Roast
Prep time: 15
Cook time: 3 ½ to 4 ½ hours
Total time: 4 hours and 45 minutes
Makes: 4-6 servings
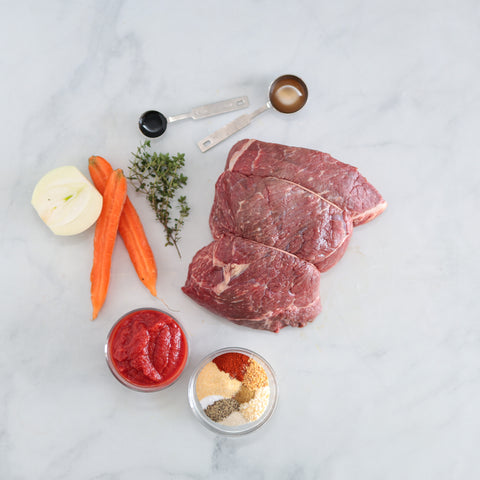
Ingredients
2-3 lbs Beef Chuck Roast or Cross Rib Roast
1 tbsp beef tallow
4 large shallots, sliced
5-6 garlic cloves, sliced
1 medium yellow onion, sliced
1/2 cup white wine
2 cups apple cider
1 cup chicken bone broth
3 sprigs thyme, chopped
1 tsp salt
1/2 tsp ground black pepper
1 lb Yukon gold potatoes, medium size (about 4 to 5)
Instructions
- Heat oven and season meat: Preheat the oven to 325 F. Open and remove the beef roast from the packaging. Place on a large plate, pat dry with paper towels. Remove netting and cut the roast into 2 to 4 large pieces. Let sit at room temperature for about 10 minutes or until all ingredients have been prepped.
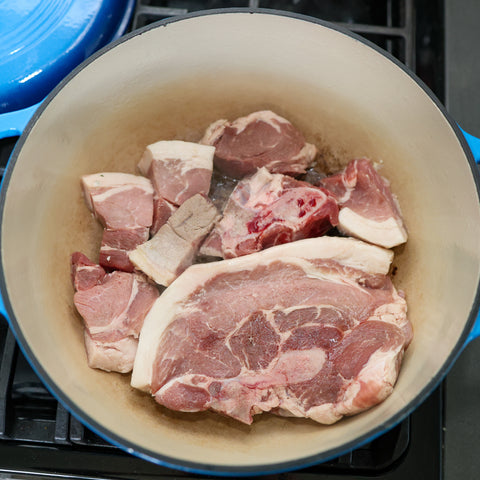
- Brown the beef roast: Heat 2 tsp tallow over medium-high heat in a Dutch oven. Once the tallow is hot, add the beef roast pieces in a single layer (you may need to work in batches). Sear all sides until deeply browned. This will take about 3 to 4 minutes per side. Once browned, transfer the pieces to a bowl and set aside.
- Saute the veggies: Add 1 tsp tallow in the Dutch oven and once the tallow is hot, add the onions, shallots and garlic. Cook for about 5 minutes or until fragrant and translucent.
- Add the liquid & deglaze: Then slowly pour wine to deglaze the dutch oven. Use a wooden spoon to scrape all those caramelized bits off the bottom. Cook the wine down by half before placing the seared roast pieces back into the dutch oven, along with the chopped thyme and potatoes. Pour the chicken bone broth and apple cider over the meat. Make sure the meat is about two thirds submerged in the liquid. Give the mixture a good stir. Cover and place in the oven.
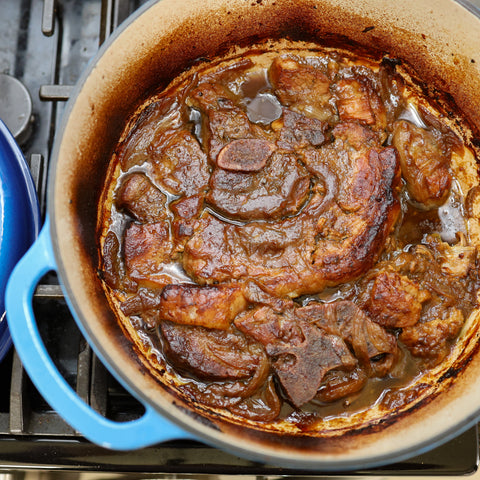
- Braise in the oven: Braise beef roast for about 3 ½ to 4 ½ hours or until fork tender, flipping the beef halfway through. When the beef is almost tender (around 3 to 3 ½ hours), remove from the oven. Take the potatoes out and set aside, unless you like super soft potatoes that will melt into the liquid. Place back into the oven (with no lid) for another 30 minutes to 1 hour or until the the liquid has cooked down and the beef is fork tender with a caramelized top.
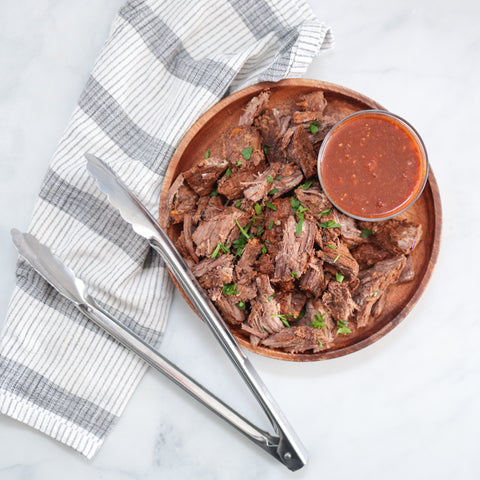
- Remove from the oven and let rest: Take the beef out from the oven and let it rest in the liquid for about 10 minutes before serving. Adjust seasoning as needed.
- Enjoy: Serve beef with lots of juice, along with smashed potatoes. Make sure to serve with something satisfying to soak up all that rich meat flavor. Pairs well with roasted cauliflower.
- Store leftover meat and liquid in separate airtight containers in the fridge for up to 4 days or frozen for up to 3 months.