Cast Iron: Your Grandkids Will Fight Over It!
There are few things in the kitchen like a good cast iron skillet. Their high heat retention and versatility has earned them a spot in the upper echelons of kitchen essentials. Though their need for specialized care and storage may turn some people off, their ability to cook meat to near perfection is worth the effort. If cared for properly, a cast iron skillet will last for generations.
Cast Iron is a metal alloy consisting of roughly 2% carbon and 98% iron. First thought to be used by early eastern cultures, the first western record of using cast iron as cookware dates back to 7th century England. Starting as large cauldrons to cook over open flames, when cooking methods changed from fire pits to stove tops, cast iron has adapted accordingly. In regards to modern cast iron cookware, there are two main types: traditional and enamel.
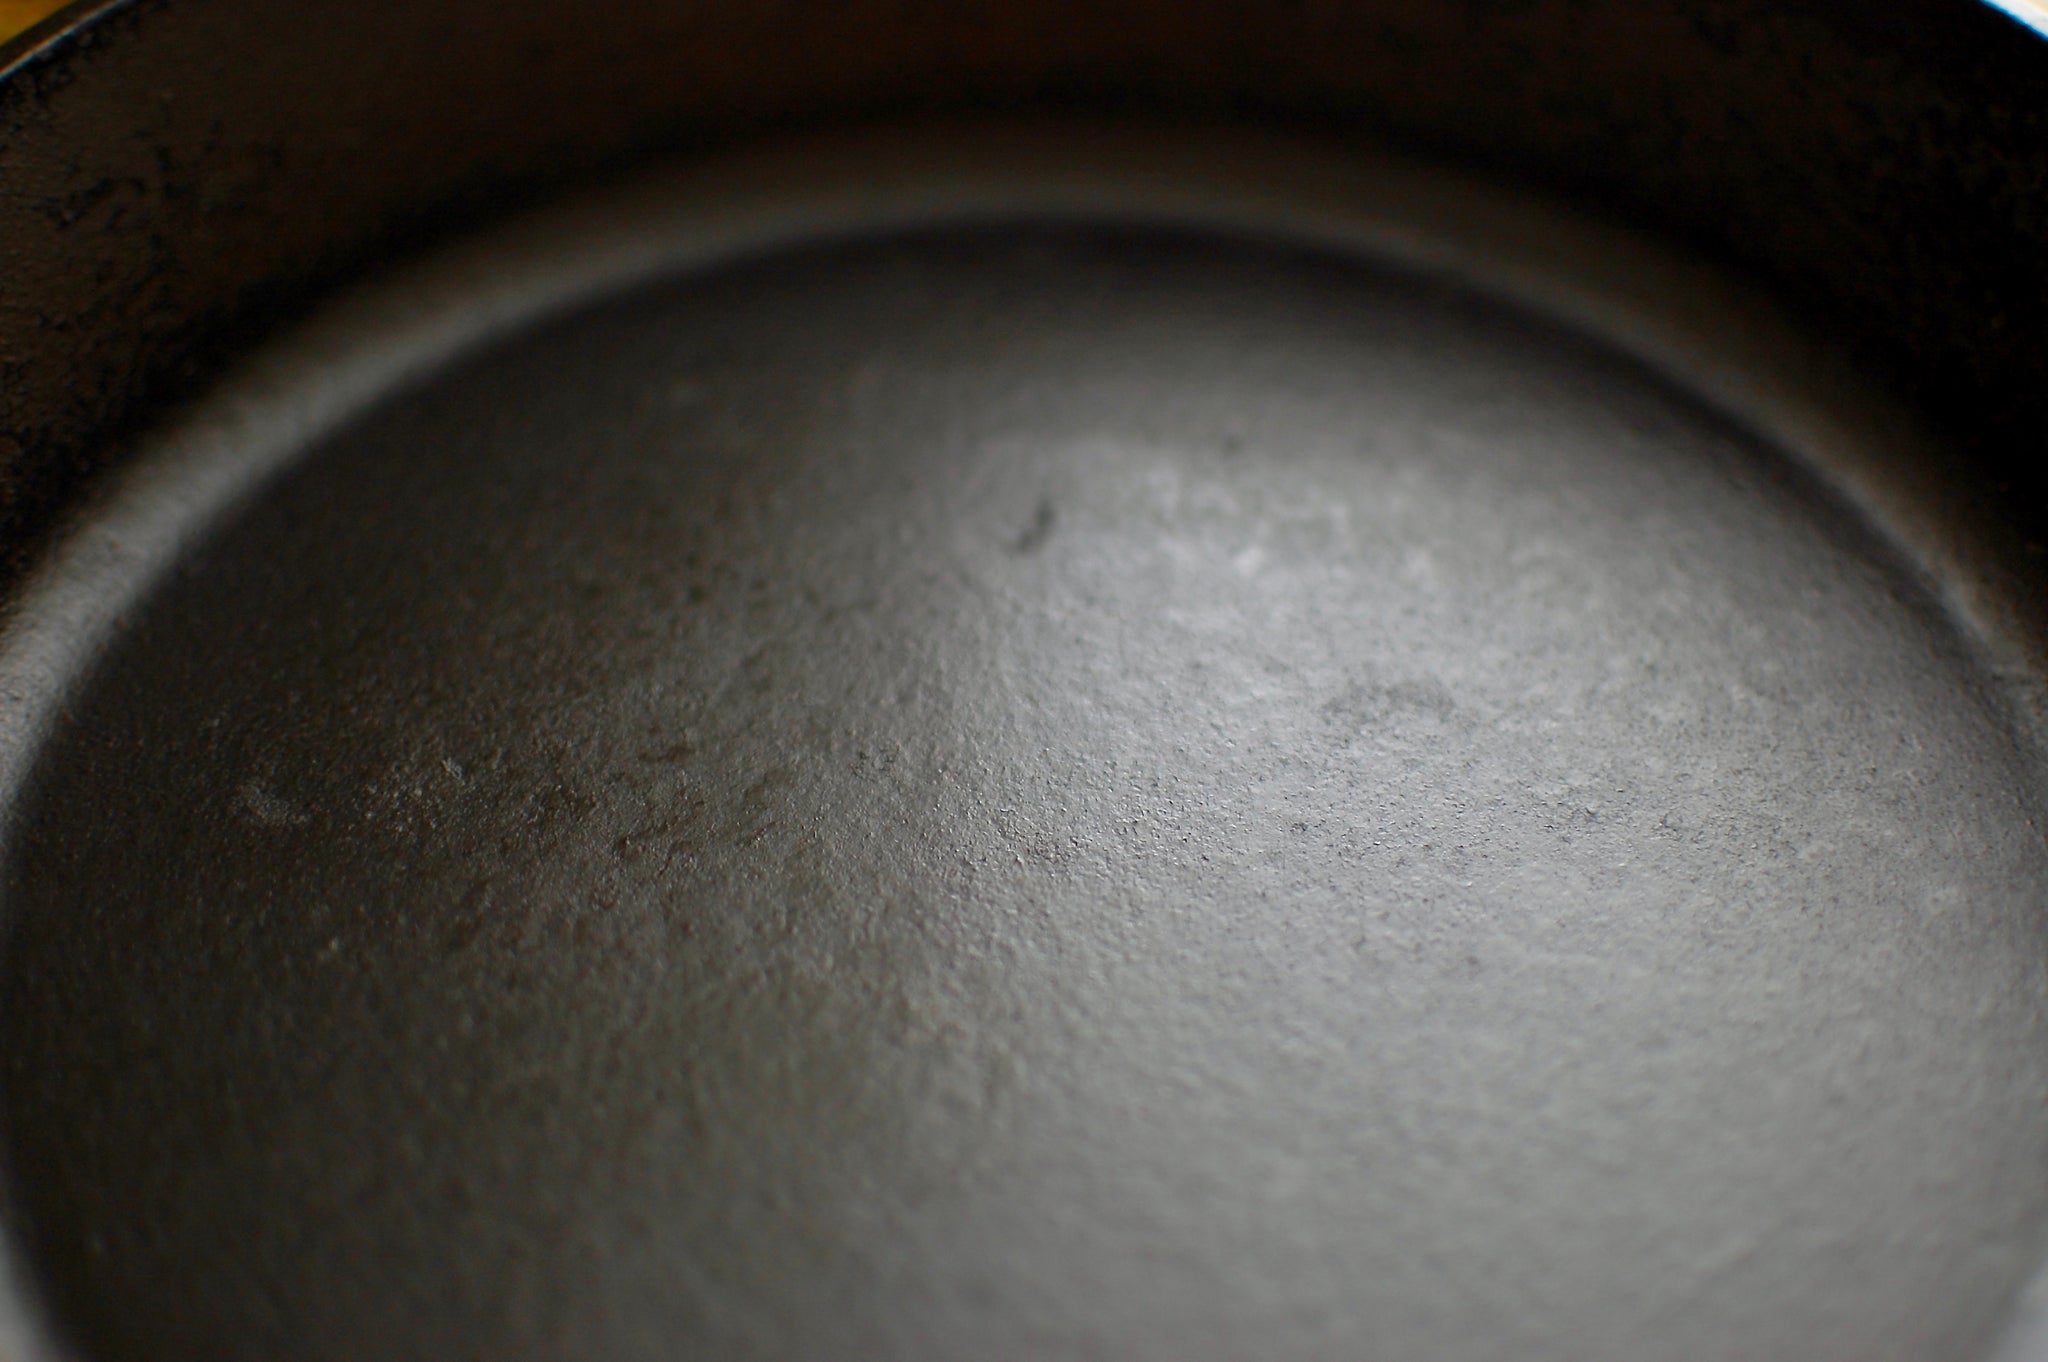
When you think of cast iron, most will imagine the deep black metal that is always on the stove top regardless if it's cooking anything, that's traditional cast iron. Aside from being more well know, it is also more versatile. It can sear, sauté, braise, bake and roast with the best cookware. It’s often cheap, starting around $30 for a good 10” skillet. It can withstand significant abuse, often being brought back to life after years of neglect. If properly maintained, it can develop a durable layer known as patina, and will become as reliable as any non-stick skillet.
Enamel cast iron cookware is the dressed-up sibling of traditional cast iron. Touted as easier to maintain, it's made from the same metal alloy as traditional, but then covered with an enamel coating, often in vibrant colors. Though prices may vary, they range from a little more, to way more expensive than traditional cast iron. The benefits of enamel over traditional is that it's far easier to clean and maintain, without needing to season or re-season. But, just know, that it will never develop or retain any of the non-stick properties like traditional cast iron. Also, if it chips or cracks, it’s done.
Before we get into how to properly care for your cast iron, it is important to let you know what you will be getting into. Cast iron is heavy — a 10” Lodge Cast Iron Skillet weighs about 5 pounds — and that's a good thing. It’s density is what allows it to heat evenly and retain that heat. It's weight makes it a little unwieldy, especially when it's hot, so special attention is needed when handling. It would be a shame to have your favorite skillet fall into the sink and absolutely obliterate your wife’s favorite pair wine glasses — just sayin’.
Cast iron is available in many sizes and forms. There are reversible griddles for indoor grilling on one side and pancake making on the other. There are dutch ovens with legs and wire handles designed to sit in hot coals or hang over open flames. There are even pans made to look like corn cobs for the cutest little cornbreads imaginable. Most common though are the skillets. About 2-3 inches deep and ranging from 3.5” all the way to 17” wide, the skillet is the most versatile. A 10” skillet is perfect for 1-2 person meals and a 12” is best for families.

For the purposes of explaining how to prepare and maintain your cast iron, we will be focusing on the skillet. The same practice is required for any shape or size.
Most manufacturers sell their products labeled as “pre-seasoned.” This means that a layer of oil has been baked into the skillet so that it will not rust, but don’t be fooled. To get the most out of your skillet with the least amount of frustration, some work needs to be done.
You’ll need:
- A hot oven
- High temperature cooking oil: vegetable, avocado, safflower, grapeseed, flax or walnut.
- Paper towels
- Oven mitts
- Time
A note about oil: There are several schools of thought on which oils are best for seasoning cast iron, and while there’s no definitive answer, some choices are better than others. Currently, the best oil for seasoning is thought to be flaxseed oil. It can often be found in health food stores in the refrigerated section.
Properly seasoning a skillet is the product of fat polymerization. Meaning that heat makes fat molecules link together and bond to the surface of the pan. Fat polymerization is optimized by using a drying oil, like the linseed oil that woodworkers use to give their projects are hard, durable finish. The only edible drying oil is flaxseed oil.
Walnut oil is the next best choice because of the hard film it leaves, but like flax oil, it's expensive. The best economical choices would be grape seed or safflower oil, but any other high temperature oil will work. Your grandma will say that bacon fat is the best to use because it adds flavor. Because grandmas know best, she’s not wrong, she's just under-informed. Any animal fat used to season assumes a high risk of spoiling in between uses.
Seasoning New Cast Iron:
- Set your skillet on the stove top on low and let it preheat for a few minutes. You want the handle to be warm to the touch but not hot enough to burn.
- Apply a drop of oil to the center, no bigger than a quarter and cover the entireskillet with a thin layer of oil. Using your hands is best to make sure you get it on every surface, but a paper towel will also work.
- Take a clean paper towel and wipe the entire skillet clean of the oil. It will look like you wiped it all off, but a very thin layer will remain. This is important. If you leave too much oil on it will burn, leaving spots on the surface and you’ll have to start over. Sad face.
- Set your skillet upside down on the center rack so that any excess oil — though there shouldn’t be any — does not collect on the cooking surface.
- Set your oven as high as it will go, 500F or higher. If your’s doesn't go that high, set it to clean.
- After the oven reaches temperature, set a timer for one hour. After the hour, turn the oven off and allow the skillet to cool inside the oven. About 2 hours.
- Repeat steps 1-6 at least 6 times. Repeating the process helps to form a durable layer on which to build a thick layer of patina.
Okay, yes, this will take the better part of two days. What's a weekend relative to a lifetime of impressing your friends by being able to dry fry an egg in your cast iron. Plus, it will make maintaining your skillet much easier.
*If you are starting with a rusty skillet, start here.
Using Cast Iron:
Once you have developed that initial protective layer, it’s time to cook. This is where the time and effort of seasoning will pay off.
- Pre-heat: Set your skillet over a low flame for at least 15 minutes. Get in the habit of making this your first step in making any meal with cast iron. You’ll know it's ready when the handle is hot.
- The more oil the better: When you first start using your skillet, use a generous amount of cooking oil. Use enough oil to form a solid sheet across the cooking surface, but as thin as possible. This will help prevent sticking and help build patina. The more you use your skillet, the less oil you’ll need.
- High heat is not always necessary: Unless you are searing off a piece of meat, you will rarely need to use anything over a medium setting. If you are searing, set to med-high and wait until your cooking oil just begins to smoke.
- Hot things are hot: Have a towel, oven mitt or silicone sleeve to protect your self from burns. The entire skillet, handle included, will be very hot.
- Be Gentle: Use wooden or silicone cooking utensils. Metal is not forbidden but aggressive scraping with metal can scratch away your hard-earned patina.
- Avoid long simmers with acidic sauces: slow cooking tomato sauces and other acids will eventually eat away the patina. 30 minutes is fine, 3 hours is not. If using enamel, simmer away.
Cleaning & Storing Cast Iron:
This is what scares most people away. Cast Iron is not hard to clean, it just requires a different approach than other cookware.
- Don’t Wait: As soon as you get done using the skillet, and while it is still hot, blast it with hot water. Residue will not have time to adhere to the surface and the steam from the water hitting the hot pan will help remove any debris. Just make sure small children and dogs are not underfoot.
- Hot water only: don’t use cold water to rinse your skillet. Drastic temperature changes can cause cracking.
- Soap or no soap?: Most soaps are designed to degrade fats. This is a bad thing for cast iron. Strong soaps will break down your hard-earned patina, so try to avoid using soap. If you follow the next two points and still have residue, use a very small amount of diluted mild soaps like Dawn or Bronner’s. They will still remove some of your patina but not enough that you will need to re-season.
- But there’s still stuff left: If any residue remains, try wiping it out with a paper towel, then use a non-abrasive sponge if needed. Do not use steel wool or the scour pads. If you have stubborn bits, there are chain-mail like products that are specifically designed for cast iron and they work great.
- Salt to the rescue: If you still have stubborn residue stuck after a hot rise and wipe, pour a tablespoon of salt into the skillet and scrub away. The salt is abrasive enough to remove the surface debris but not hard enough to damage the patina. If this still doesn’t work, use diluted mild soap as discussed above.
- Dry immediately: As soon as you are debris free, dry your skillet with a towel and place over low heat. This ensures that all moisture is gone from the surface of the skillet. Any moisture left will cause rust and you’ll most likely have to re-season. This also means that you cannot soak your cast iron to make cleaning easier. Rust can develop in less than an hour.
- Re-coat with oil: After the skillet is dry, place a small amount of oil in the pan and cover as we did in the seasoning section, including the final wiping. Place the skillet back on the low heat and let warm for 10 or so minutes. This will allow the oil to adhere and you’ll have a nice protective layer to block any moisture in the air from causing rust. I have heard of some people keeping an oiled cloth rag in an airtight container specifically for this.
- Store with protection: place a paper towel or thin dish towel on the cooking surface to protect against scratches. You can stack skillets safely and easily this way.
I know this seems like a lot, and at first it might be, but stay strong. If you follow these steps in caring for your cast iron, it will become your go-to piece of cookware and you’ll annoy all your friends and family with the joys of cast iron like all other believers.