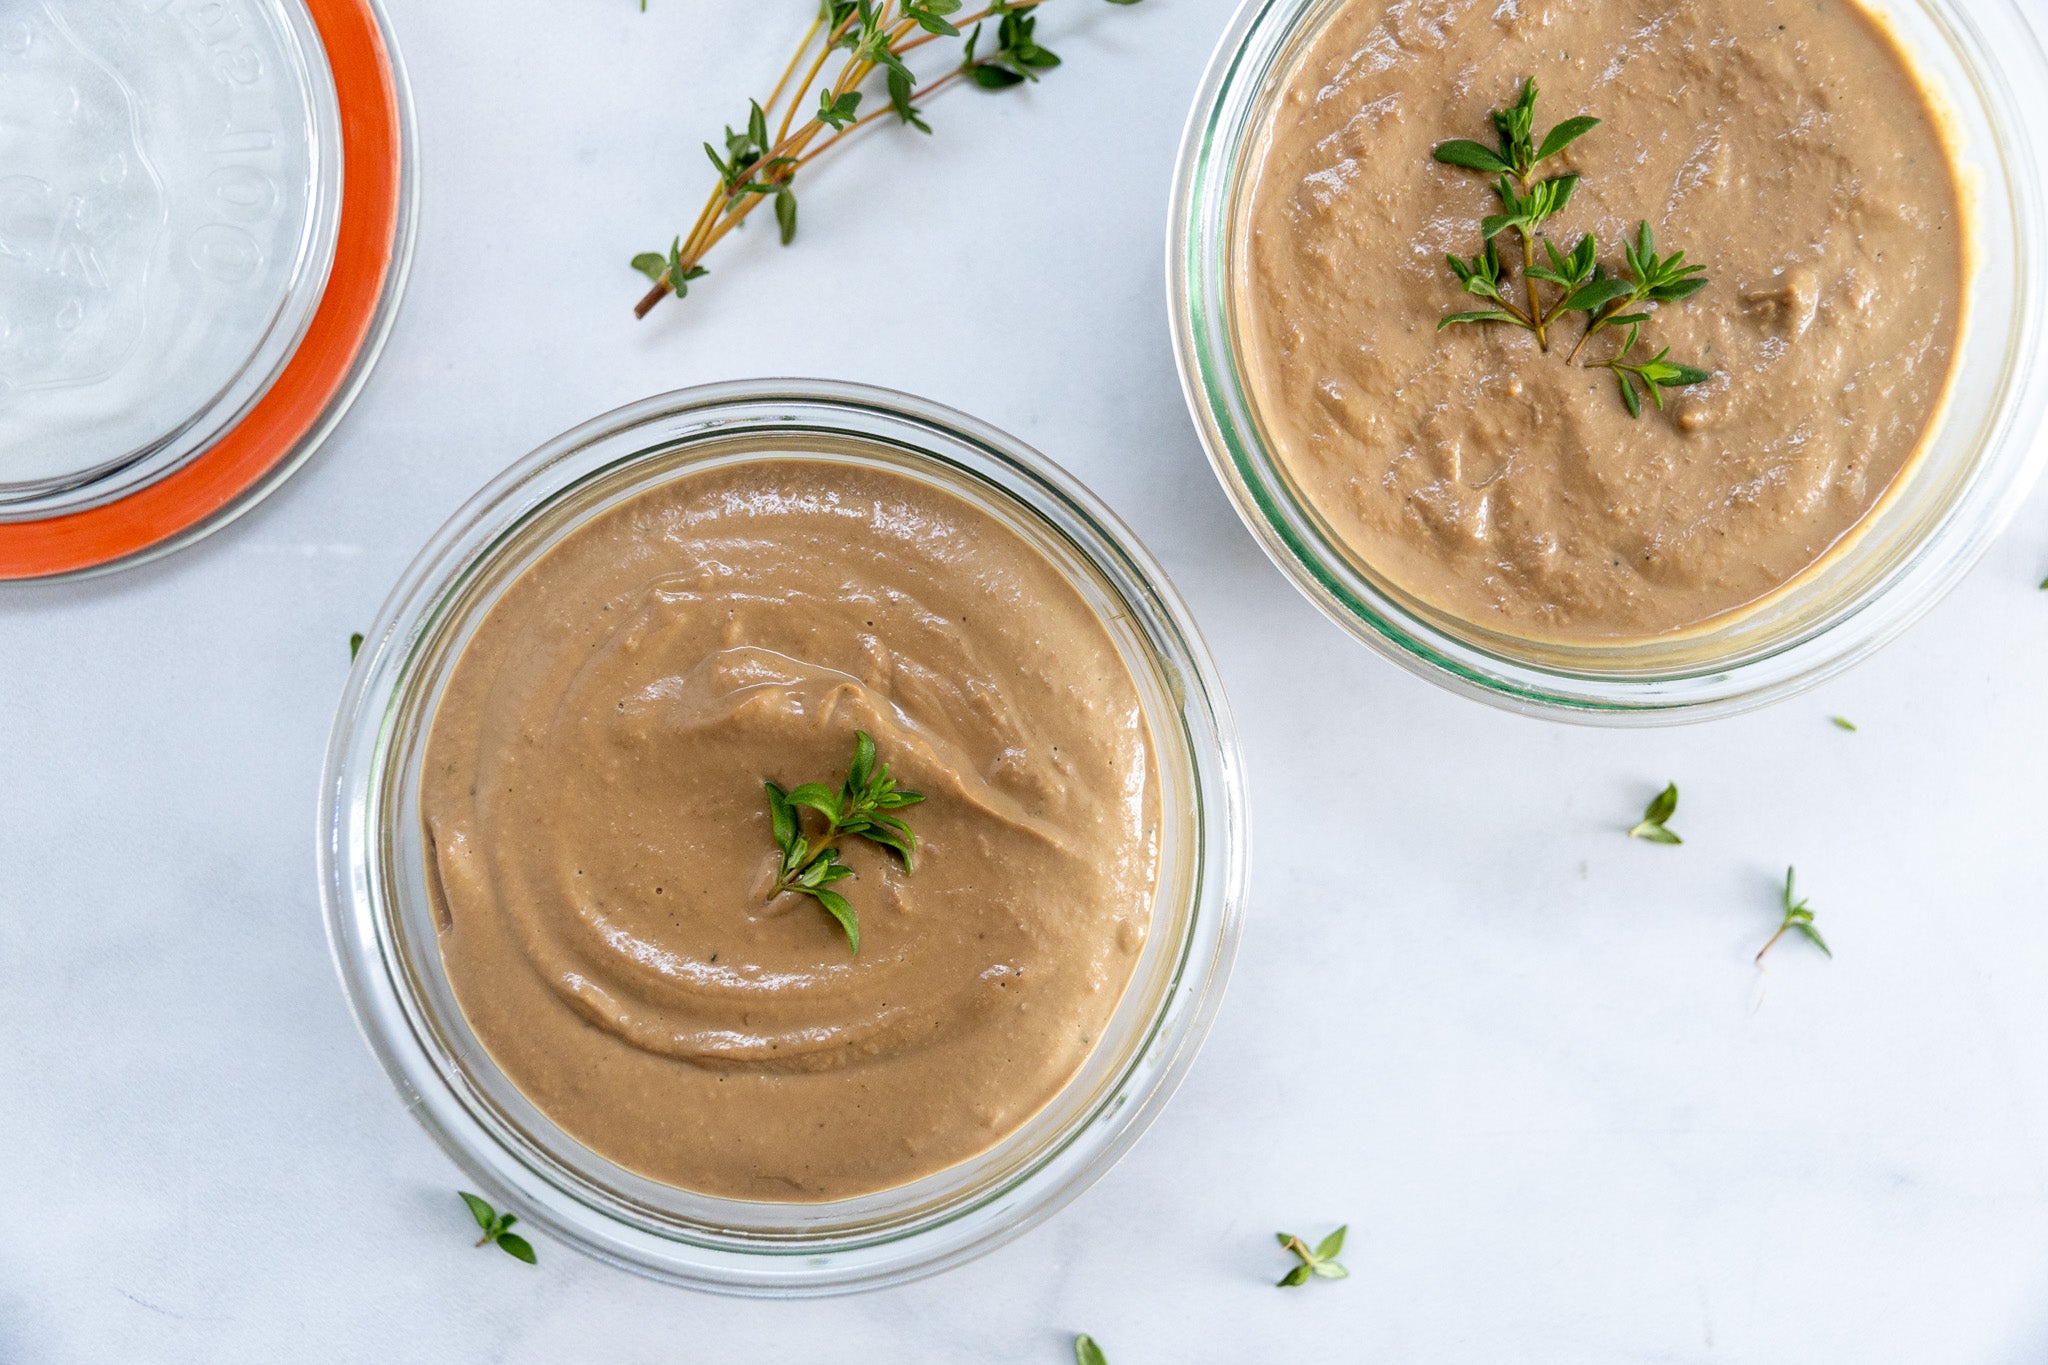
How to Make Chicken Liver Pate (simple & easy)
Chicken liver pate is so easy to make and uses simple real food ingredients that come together in less than 30 minutes. This is a delicious and fun way to incorporate organ meat. The combination of chicken liver, butter, thyme, shallots and heavy cream creates a flavorful and slightly sweet spread. With a creamy and smooth texture, it’s the perfect pairing on crackers, sourdough or veggies. It even makes a wonderful spread for chicken banh mi sandwiches. This recipe is a great way to enjoy nose to tail eating that’s sustainable and nutritious.
Benefits of Chicken Liver
- Nature's multivitamin
- Excellent source of high quality protein
- Impressive amount of B vitamins: These vitamins are the building blocks of a healthy body from energy levels to immune support to brain health.
- High in vitamin A: This active form (preformed vitamin A) is more bioavailable to help maintain the health of our eyes, skin, hair, and nails.
- Significant amount of Iron: Helps vital functions in our body from creating red blood cells to growth and development.
- Rich source of selenium: A trace mineral and an antioxidant
- Plus, so much more!
Liver is one of the most nutrient dense foods packed with protein, vitamins and minerals.

How to Enjoy Chicken Liver Pate
- Bread or Crackers: Use this spread on crackers, seeded bread or a sliced baguette.
- Toasted Baguette (Crostini): Toast baguette slices, add a spoonful of liver pate and top with herbs, butter, honey or keep it simple with sea salt.
- Charcuterie Board: Add chicken pate into a small ramekin with a variety of salami, cheeses, fresh fruits, veggies and nuts on a board. This is the perfect appetizer for party gatherings.
- Sandwich or Wrap Spread: Chicken pate makes the best spread on cold or warm sandwiches. We love adding a couple spoonfuls on each side for chicken banh mi sandwiches.
- Crudite Platter: Over fill a ramekin with chicken pate for an easy low carb appetizer. Build a veggie loaded plate with cucumber, bell peppers, carrots, cauliflower, and cherry tomatoes.
- Condiment: Swap out that traditional mayo, ranch or ketchup for some nutritious chicken liver pate.
How to Make Chicken Liver Pate Taste More Mild
This is an optional step if you prefer a more mild liver flavor. After chicken livers have been removed from packaging and excess liquid has been drained. Soak the chicken livers in milk for about an hour or so. Then rinse, pat dry, and continue on with the recipe.

How to Make Chicken Liver Pate (simple & easy)
Total time: 20 minutes
Makes: About 1 1/4 cups
Ingredients
1 lb chicken livers
8 tbsp unsalted butter, cut into cubes (plus, 2 tbsp to cover liver pate)
1 medium shallot, peeled and chopped
1 tsp fresh thyme, chopped
¼ tsp sea salt
2-3 tbsp liquid of choice (port, sherry vinegar, chicken bone broth) We like using port or sherry vinegar as our liquid of choice!
2 tbsp heavy cream, plus more as needed
Instructions
- Remove chicken livers from the packaging and place on a plate. Before cooking, make sure to pat dry.
- In a cast iron skillet over medium high heat melt 4 tablespoons of butter. Once butter is bubbling add the shallots and cook until translucent, about 5 minutes. Then add in the chicken livers, thyme, sea salt and liquid of choice (port, vinegar or bone broth). Cook for about 5 minutes, stirring occasionally until the liquid has reduced by half. The liver is done when it’s soft and pink on the inside, while slightly brown on the outside.
- Remove the skillet from the heat and carefully transfer the liver mixture into a high speed blender. Then add in the heavy cream and 4 tablespoons of butter. Blend until smooth. Taste and adjust seasoning as needed adding more salt or heavy cream.
- Pour the chicken pate into two glass jars or containers. Use a rubber spatula to smooth the top.
- In a small saucepan heat the remaining 2 tablespoons of butter. Slowly pour the butter over the chicken pate to create a thin layer. Cover and refrigerate for about 2 hours or until firm.
- Store chicken pate in an airtight container in the fridge for up to 4 days or freeze for up to two months. When ready to use, remove from the freezer and thaw in the fridge.
