Larded Pie Crust
Makes: 1 pie crust
Prep: 2hrs - overnight; 1 hr active.
Cook: 20 mins
T = Tablespoon
t = teaspoon
1 cup All-Purpose Flour
1/3 cup Fine Yellow Cornmeal
1/2 t Kosher Salt
1/4 cup Pork Lard, pinched into thumbnail sized pieces (learn how to render pork fat)
4 T Unsalted Grass-Fed Butter; cold 1/2” cubes
1/4 cup ice water
Pairing knife
Food Processor with metal blade and lid with feed tube
Measuring cup
Small bowl
Towel
Plastic Wrap
Rolling pin
Fork
Parchment Paper
4 cups dry beans or pie weights
9-10” pie pan
Method
- The most important part of this process is making sure the dough stays cold. The texture of the crust is dependent on the fat (butter and lard) staying solid until it starts to bake. To do this, you’ll need to set yourself up to work quickly and EVERYTHING needs to be cold. Read through these steps and set up your battle station before you start.
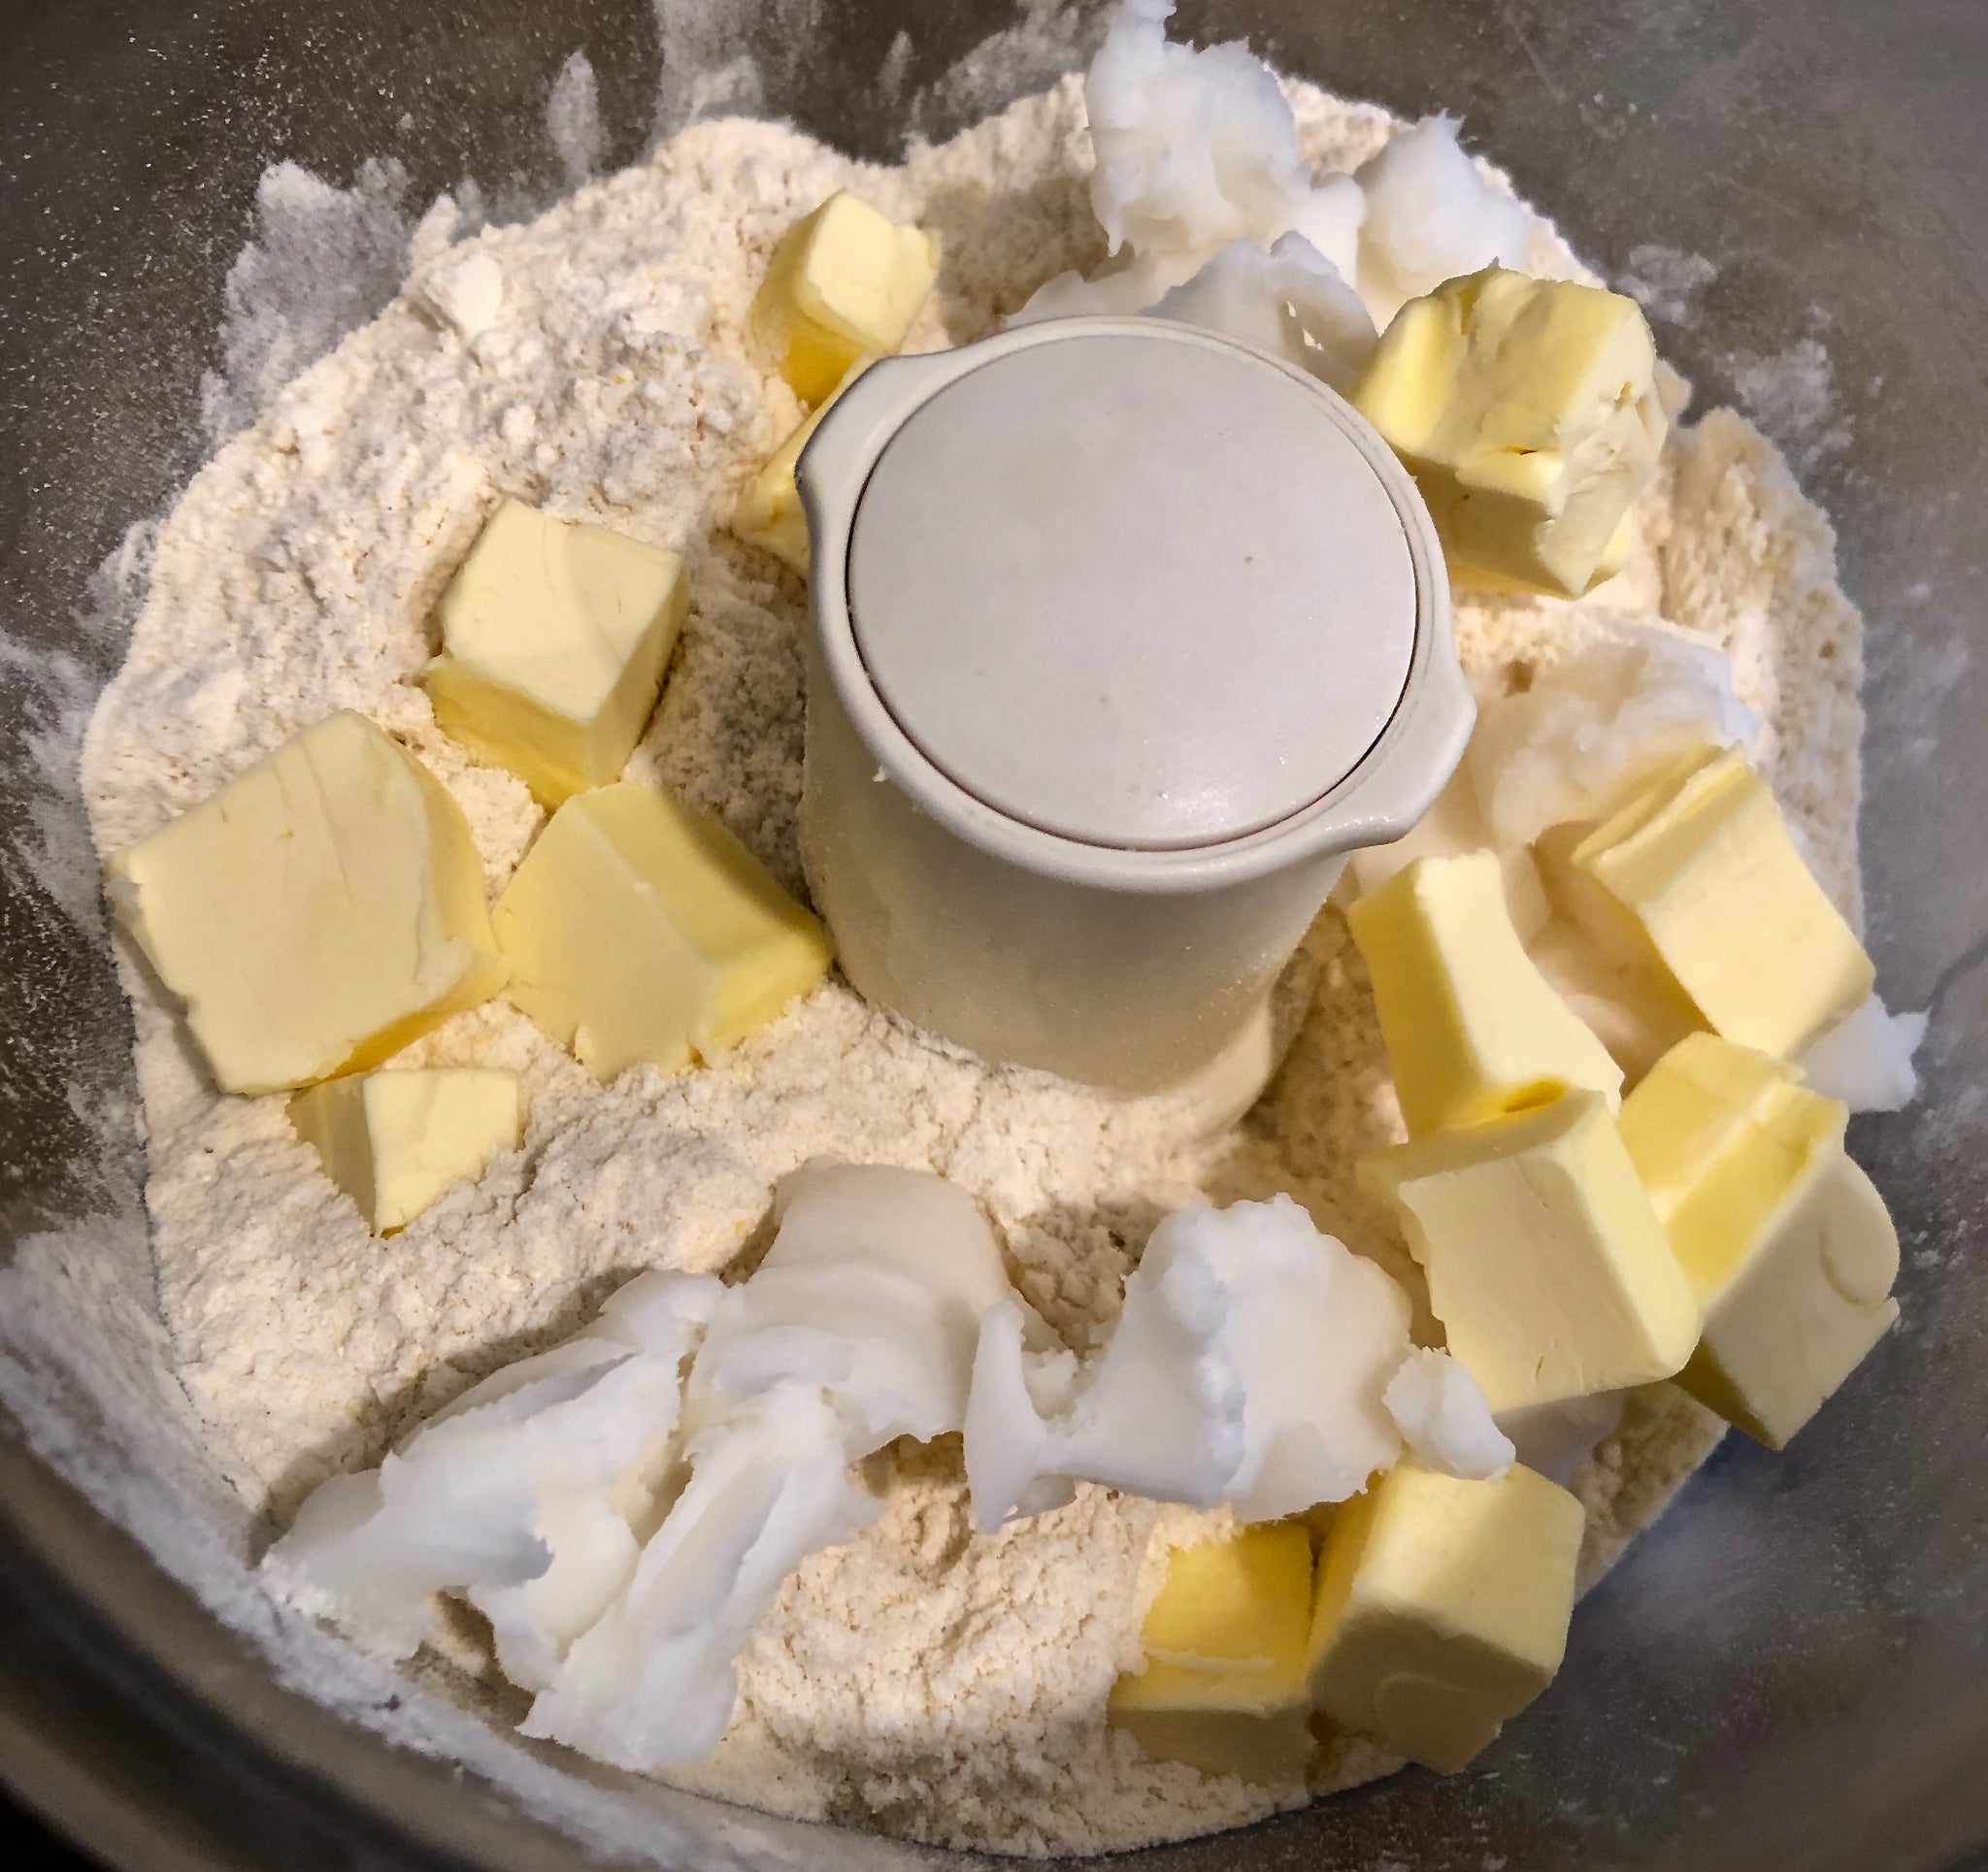
- Place the blade in the processor bowl and add the measured out flour, cornmeal and salt. Evenly distribute the butter and lard on top of the dry ingredients. Put the lid on the bowl and place on a metal baking sheet and put everything in the freezer for 1 hour.
- Turn your AC down or open your windows. Get the room as cold as you can. Yes, it seems excessive, but it really does help.
- After the ingredients have chilled for 50 mins, fill your measuring cup with ice and top off with water. You will strain the ice out before adding the water to the dry ingredients. Measure out about 1/4 cup of AP flour and set aside. You’ll use this later to dust your surface while forming your dough. Place your plastic wrap box on the counter next to your working surface and pull out a 12”x12” piece, but don’t tear it off yet; it’s much easier to avoid the inevitable plastic-wrap-ball-of-frustration this way. You can usually crimp it on the counter's edge to keep it from blowing around.
- Remove everything from the freezer and place the cold baking sheet on the counter where you will form your dough. This will help keep your working surface cold.
- Fit the bowl onto the food processor and pulse 3-5 times. The goal is to cut up the fat pieces until they are about pea-sized and evenly distributed into the dry ingredients.
- Measure out 1/4 cup of ice cold water and slowly pour it through the feed tube of the food processor while pulsing 3-5 times to incorporate. The dough will be loose and crumbly and should look somewhat like wet sand with specks of fat throughout.
- Working quickly, remove the baking sheet from your work surface, dry with a towel if necessary and dust with the reserved AP flour. Hold the remaining ice in your hands to get them cold. Dry them before handling the dough.
- Dump your dough out onto the floured surface and quickly form into a loose dough ball, then press to form into a rough disk about 1” thick.
- Move the dough disk onto the plastic wrap and wrap tightly.
- Store in fridge for at least 1 hour or overnight. In theory, the dough can stay in the fridge for 3 days, or in the freezer for 3 months.
- After the dough has chilled and rested, dust your work surface and rolling pin with AP flour, remove the plastic wrap and begin to flatten the dough, rolling from the center out, turning the disk a quarter turn after every few passes. Your goal is a 12” circle that is 1/8” thick. Don’t worry if the dough tears or cracks along the edges, just patch it and keep working. Putting your pie pan in the freezer prior to this step is a good idea. Do not do this if you are using a glass pie pan.
- Once your circle is complete, lightly dust the surface of the dough with flour and gently fold in half, then in half again, forming a cone shape. This makes it easier to transfer to the pie pan.
- Place the tip of the cone in the center of the pie pan and unfold the dough to cover the pan. Lifting the edges and gently pressing into the corners and sides to make sure there is even contact.
- Using your fork tines, poke holes all over the bottom of the dough and all around the sides. This helps steam escape and keeps the dough from bubbling.
- Make a decorative rim by touching your right index finger and right thumb together and crimping the dough against your left index finger around the entire rim, forming little triangles, or don’t, it’s your pie. Trim the excess from around the rim.
- Place the pie dough in the freezer while you preheat your oven to 350℉.
- Place a sheet of parchment paper over the dough and fill with the beans or weights. Place in oven and bake for 10 mins.
- Remove the beans or weights and parchment paper from the pan and bake for another 10 mins. If you start to see color anywhere on the crust, remove from oven. This is called par-baking and will help your crust stay crispy and avoid “soggy bottom” after adding any wet filling.
- Remove from oven and let cool completely before continuing with your favorite pie recipe. Tightly wrap and place in freezer if not using immediately.
*Adapted from Heritage by Sean Brock, 2013.
