Slow Roasted Crispy BBQ Pork Belly
If you’ve been looking for juicy, tender and flavorful pork belly with crispy skin, then this recipe is for you! Using just 4 ingredients this pork belly is slow roasted so the meat becomes tender but the fat has time to render. To get that crispy crackling, high heat is used for the final stage of cooking. This recipe takes some time to prep; however, it’s worth the wait as it will give you tender meat and crispy skin. Even if the skin does get that crackling crust it's still delicious. Make this pork belly as an appetizer for family gatherings, parties or for a satisfying meal paired with white rice, snap peas and green onions.

Pork Belly Tips & Tricks (see pictures below)
- Dry the skin: This recipe takes some planning but to get the crispy skin it’s best to dry the pork belly uncovered overnight in the fridge. However, if you’re short on time, leave it uncovered in the fridge for just a few hours. Then remove from the fridge and pat the skin dry using paper towels. There should be no moisture on the skin and it should feel smooth to the touch.
- Don’t score the skin: We know many people love scoring the skin and we’ve tried it both ways. However, for this recipe no scoring is needed. The problem with scoring, if you go too deep you’ll reach the meat and all those juices will come to the top of the skin making it less crispy in the end.
- Cook low and slow: Roast the pork belly in the oven for 2 ½ hours. The trick is keeping the temperature low to allow the meat to get tender and slowly render the fat while the skin stays soft. By allowing the skin to stay soft it will help develop those bubbles on top of the skin in the final high heat stage to get that crackling to form.
- Prop & level pork belly: As the pork belly slowly roasted it went from a flat surface to now sloped. Crunch up a piece or two of parchment paper and level out the belly so it is once again horizontal or at least level. This will help cook the skin more evenly and create that crackling across the entire surface (see pictures).
- High heat final stage: This is the final cook stage to get that nice crispy crackling on the skin.
- Use a dish that isn’t too large: When it comes to choosing your roasting dish you want the pork belly to just fit either vertically, diagonally or horizontally. When the liquid is added it will cover about two thirds of the belly. If you use a larger dish then more liquid will be needed and the pork belly might fall into the liquid as the fat is rendered making the skin wet. We used a 8x8 glass baking dish as the pork belly fit perfectly. Every pork belly piece is different so choose your dish or pan appropriately.

Slow Roasted Crispy BBQ Pork Belly
- Dry the skin: Remove pork belly from the packaging, place on a plate and sprinkle with salt to draw out excess moisture. To get the skin to crackle the most it’s recommended to leave the pork belly uncovered in the fridge overnight. However, if you’re short on time, leave it uncovered in the fridge for just a few hours. Then remove from the fridge and pat the skin dry using paper towels. There should be no moisture on the skin and it should feel smooth to the touch. Add a touch more salt evenly over the skin and set aside.
- Preheat: Preheat the oven to 275°F.
- Make liquid mixture: In a small bowl whisk together beef bone broth and BBQ sauce. Set aside.
- Prep pork belly: Pour the liquid mixture into a small glass baking dish (8x8) and place the pork belly fat side up in the dish. The liquid should be covering about two thirds of the pork belly. If more liquid is needed add more bone broth. Make sure not to get any liquid on the top of the pork belly skin. If so, use a paper towel to gently wipe away any liquid.
- Slow roast for 2 1⁄2 hours: Roast the pork belly in the oven for 2 ½ hours. The trick is keeping the temperature low to allow the meat to get tender and slowly render the fat while the skin stays soft. By allowing the skin to stay soft it will help develop those bubbles on top of the skin in the final high heat stage to get that crackling to form.
- Check the meat: Remove the pork belly from the oven once it has cooked for 2 ½ hours. Using tongs remove from the liquid and set on a cutting board. Carefully check the meat using a fork to see if it comes apart easily. If the meat is not fork tender then place back into the oven for another 30 minutes. The pork belly will still be cooking for another 30 minutes but at higher heat.
- Increase oven temperature: Preheat the oven to 450°F.
- Prop & level the pork belly: Using a roasting rack place it on a sheet tray. For an easy clean up line the sheet tray with parchment paper or foil to catch the fat. Place the pork belly skin side up on the roasting rack. As the pork belly slowly roasted it went from a flat surface to now sloped. Crunch up a piece or two of parchment paper and level out the belly so it is once again horizontal or at least level. This will help cook the skin more evenly and create that crackling across the entire surface (see pictures).
- Place back into the HOT oven: This is the final cook stage to get that nice crispy crackling on the skin. Carefully place the pork belly into the center of the oven for 30 minutes or until the skin is puffy and golden brown. Rotate the belly as necessary to keep the skin cooking as evenly as possible.
- Let rest: When pork belly is done, remove from the oven and let rest for 15 minutes. Don’t skip this step as this helps the juices redistribute throughout the meat.
- Optional step to cook down the liquid: While the pork belly rests add the cooking liquid into a small pot over medium high heat. There will be a lot of fat at the top so remove fat as needed. Reduce down the sauce for about 10 minutes or until the sauce has reached the desired thickness. Use sauce to drizzle over the belly or use as a dip.
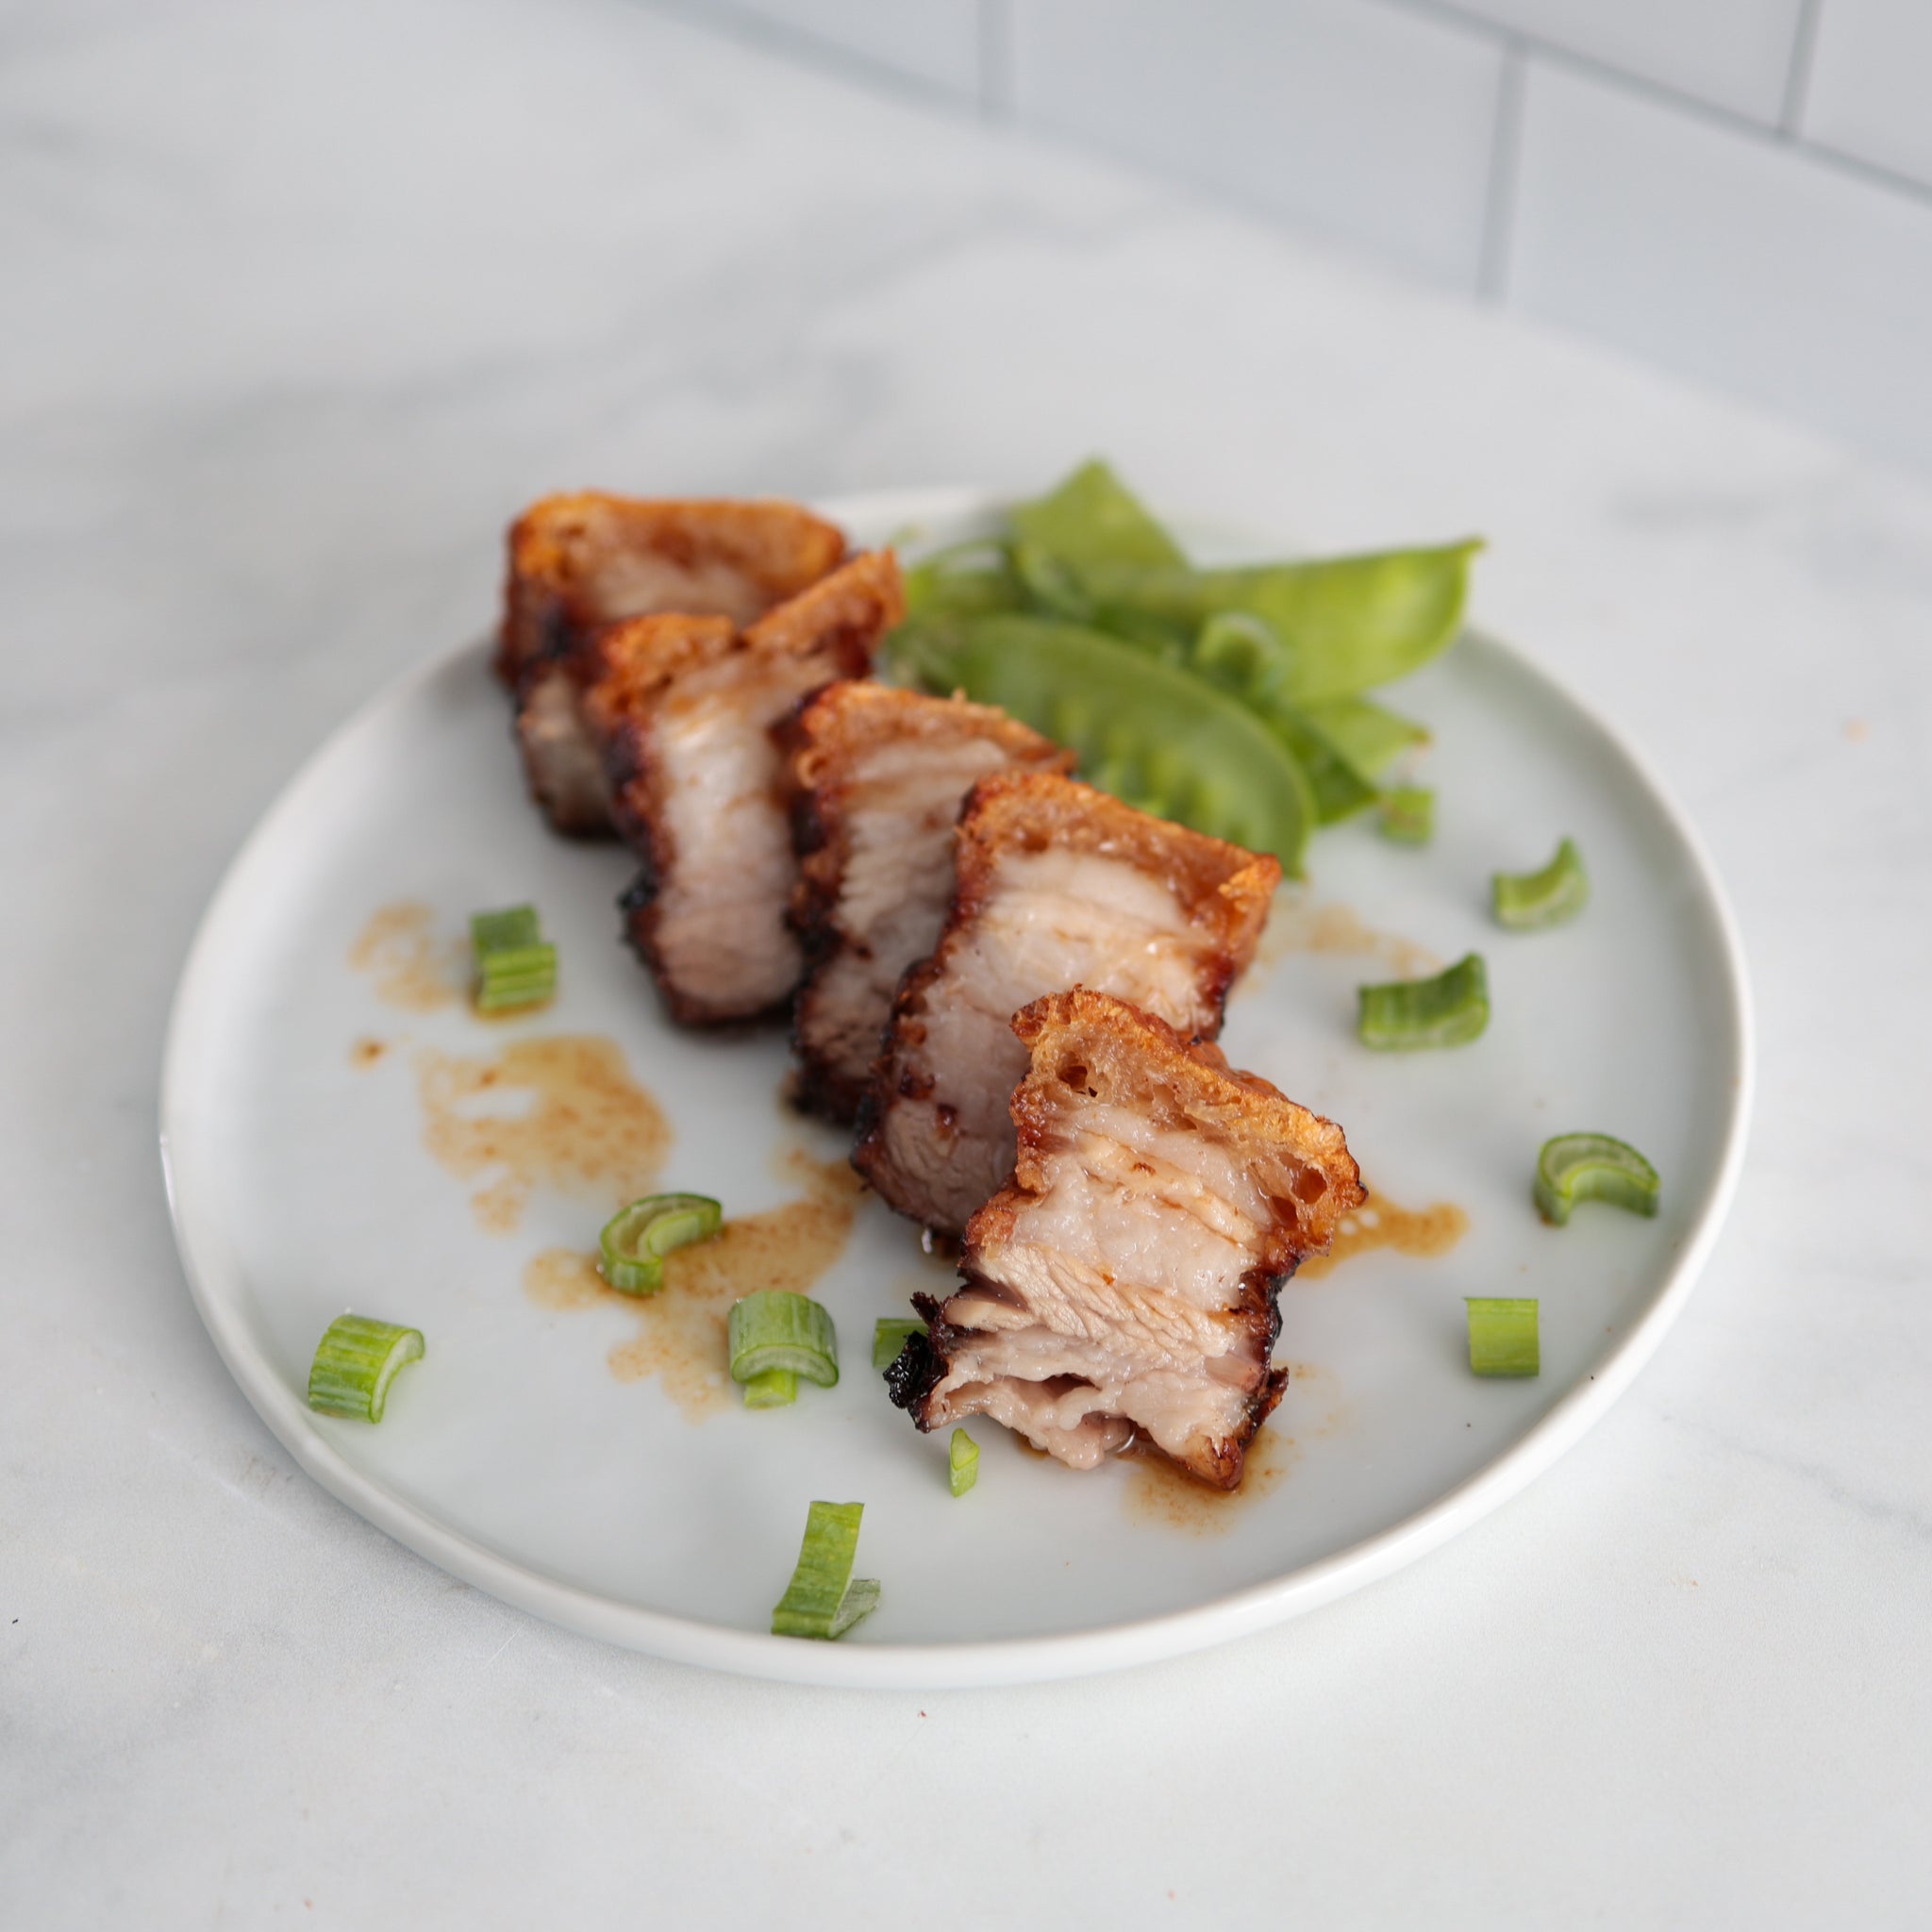
- Serve: With a sharp knife, slice through that crispy pork belly. Enjoy sliced belly in the bowl with BBQ sauce, green onions, snap peas and white rice. Best if enjoyed the same day.
- Storage: Store pork belly and sauce in separate containers in the fridge for up to 3 days. Reheat in the oven with the leftover sauce to keep the pork belly juicy.
Pictures of Pork Belly Stages
Find the right baking dish or pan to fit pork belly for slow roasting

Prop pork belly with parchment paper on roasting rack

High Heat Before & After


Crispy Crackling Pork Belly Skin
